Audio quality is also important in classes.
Recording good audio greatly helps in delivering class content.
Please record audio clearly
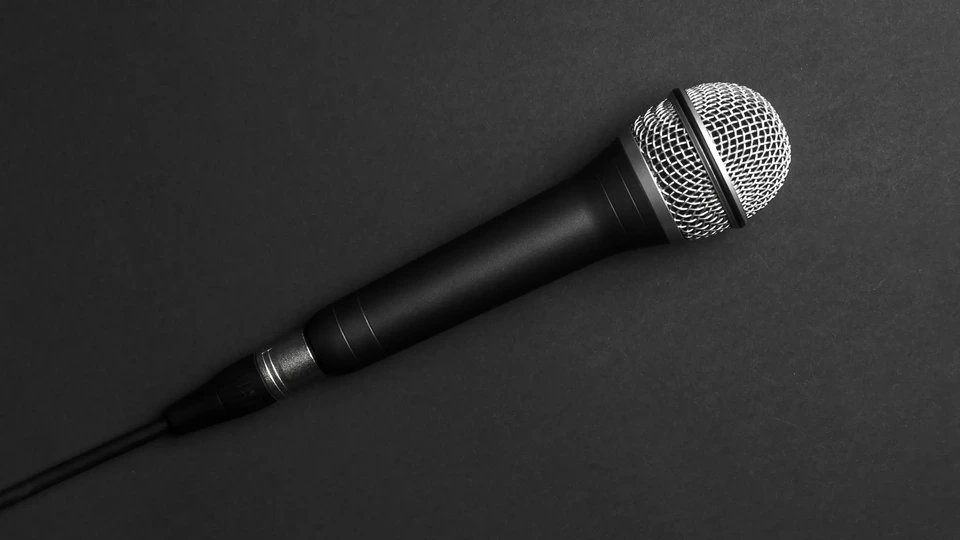
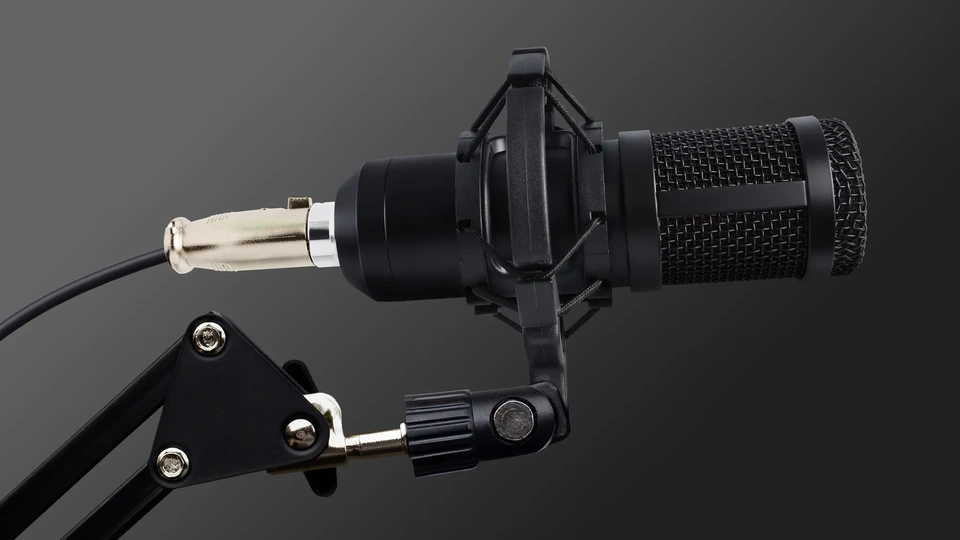
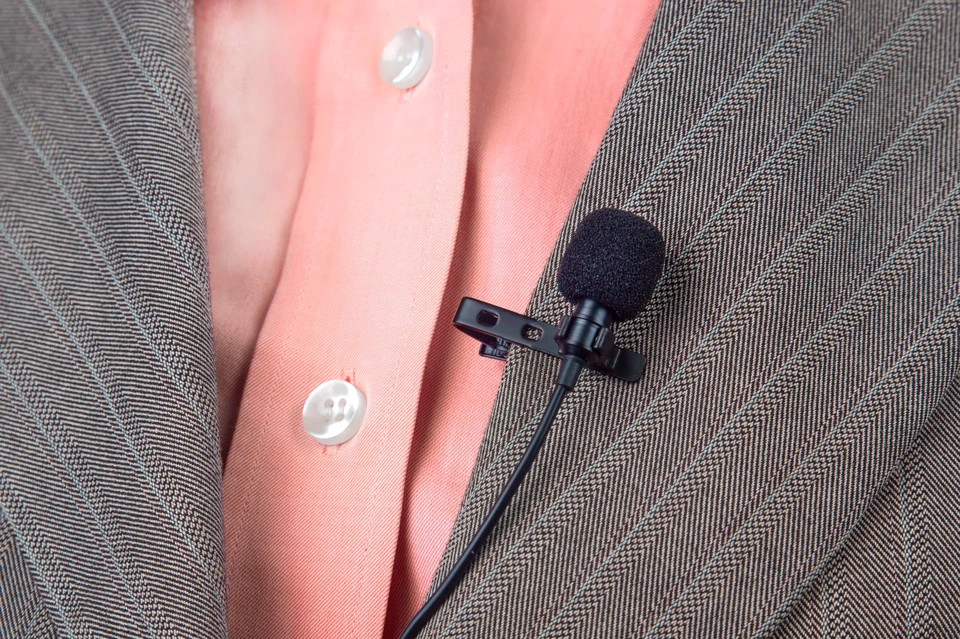
When using a separate microphone
You can record audio more clearly.
We definitely recommend it, but each microphone type has different characteristics, so you need to consider your environment.
Select a microphone type below to see detailed information. 🎤
Type


When recording with a smartphone
Advantages
You can utilize the phone you already have.
Disadvantages
It is vulnerable to ambient noise, so audio quality may deteriorate depending on the environment.
You cannot record and listen simultaneously, so you need to check the audio frequently.
Not recommended unless the environment is perfectly controlled.
Usage Guide
Using the microphone on your earphones instead of your phone's built-in microphone will allow you to record better audio.
Example of Properly Recorded Audio
Please avoid noise and echo as much as possible when recording
Noise and Echo to Avoid
Ambient Noise | Air conditioning/heating sounds, etc. |
|---|---|
Friction noise | Sounds of microphone brushing against hair, collar, etc. |
Breathing sounds | When microphone is too close to mouth, nasal air, plosive breath sounds, etc. |
Other noise | Keyboard sounds, vehicle passing sounds, etc. |
Echo | Recording in spaces with excessive reverberation, etc. |
Microphone position | If the microphone is too close, it may cause distorted sound, so please position it properly. |
Please check that the audio is coming through at an appropriate volume.
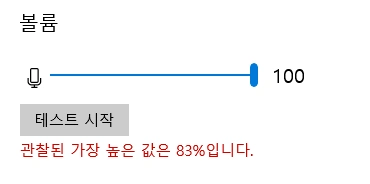
How to check proper volume on Windows
'Settings → System → Sound' select connected microphone → click 'Device properties' → proceed with microphone test
Proper volume should be 70% or higher based on the 'highest observed value'.

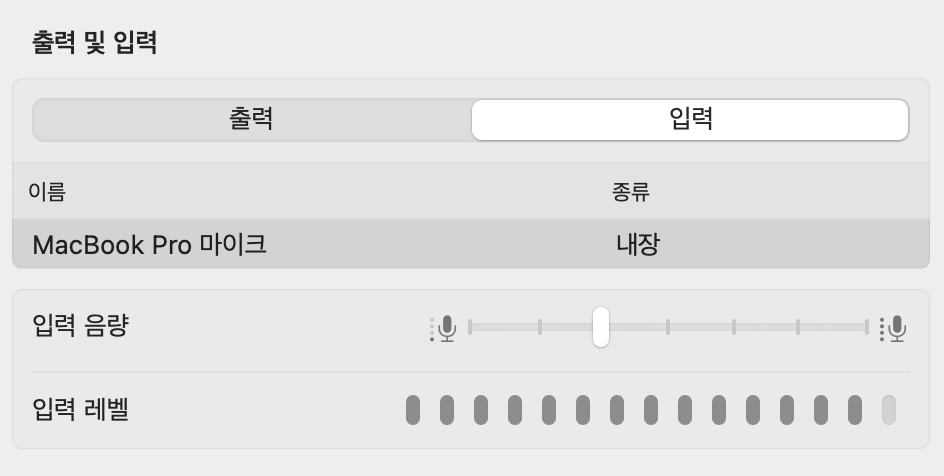
How to check proper volume on Mac
'System Preferences → Sound → Input' select connected microphone → 'adjust input volume'
Proper volume should have the input level rising above medium.

Please avoid singing in videos as it incurs copyright fees.